Monday, November 15, 2010

Last day of the 5 day weekend!

All the painting is done! 3 coats of primer, 2 coats of marine paint on the whole camper and 2 coats of black paint on the trim. Half the weight of the camper is going to be with the paint!! lol

Really happy how it looks. There are a few places where the black bleed, but for the most part the lines are really crisp. The interior trim is finished on the windows as well and started installing the door hardware. Got an interesting surprise with the power panel. I thought that the 12v lights would only work off the battery but because I needed light in the sleeping cabin, where I have a regular light, hooked up the shore power. I thought for shits and giggles I would try the galley dome light and it came on?! Then I tried the porch light and the same thing? Went to the front of the camper just to make sure I did not hook up the battery, no, not hooked up! Love my electric panel!


Took the rims and fenders to Bob's(brother) for sandblasting. A friend soaked the rims for 4 days in a special bath, but there was still a lot of crude on them. Thanks for trying though Jamie!

The to do list is getting really small!!

Saturday, November 13, 2010

Day 3 of a 5 Day weekend

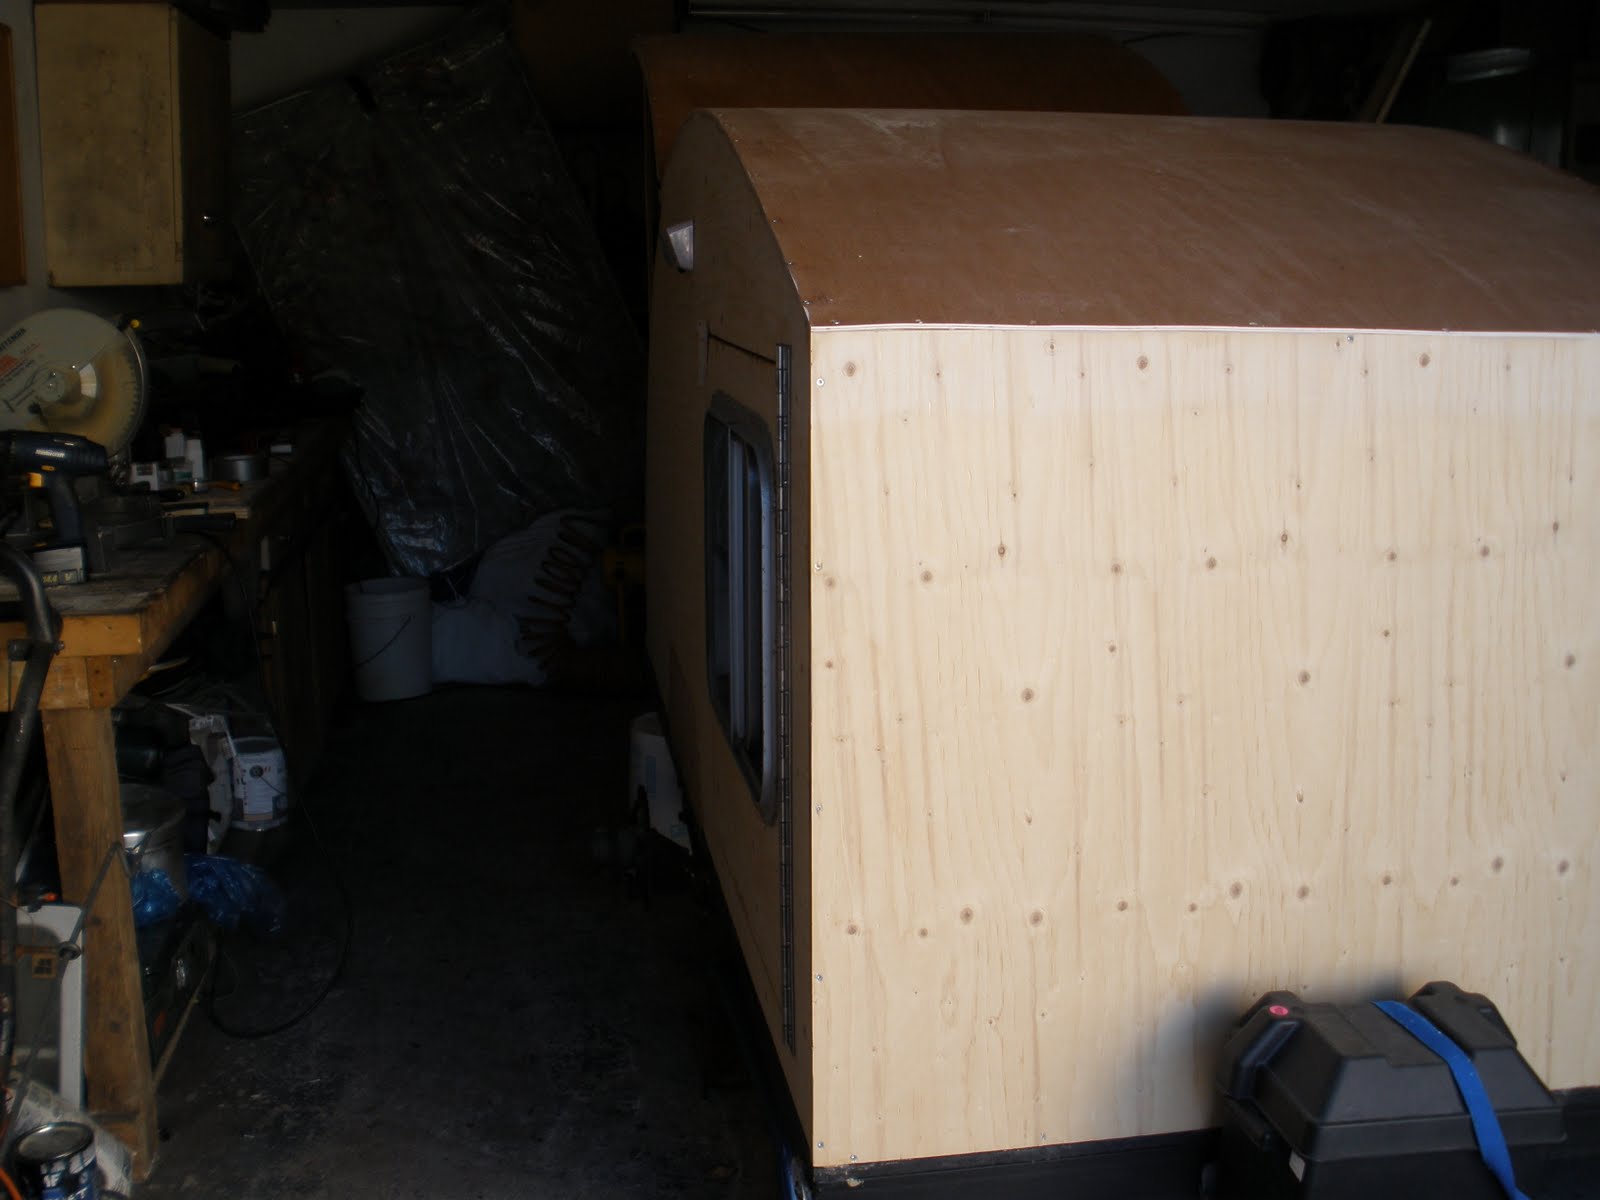
I am right on schedule for the plan of the weekend. Actually, thanks to Dad, I am even a little further then where I thought I would be by this time. Got the last of the trim on the bottom of the camper installed. There are now 3 coats of primer and the first coat of marine paint on the camper. The color is called Carver White, a really light grey! Really shinny, I really like it!!!!


The door is all trimed out as well. It should not leak? I epoxied the interior of the door and the jamb. It will be tested in the spring!


Dad installed the tail lights, the license plate light, hooked up the battery back to the electric panel, wired the porch light and the galley light. He also installed the gas shocks on the galley hatch. Unfortunately they are not strong enough to hold the lid up but they assist in the lifting and stop the lid from crashing down. It only needs a little support to keep it up. I will figure something out. I turned the lights out in the garage to see what kind of light I would get from the galley light and the porch light. Unfortunately the pics do not give it justice!


Dad ran the battery cable through a piece of plastic tubbing from the front, underneath the trailer and then brought it up through the galley to run it to the electric panel. You don't see it right now but my neighbor manufactured a battery tray and it will be sitting on the tongue of the trailer where you see the wires come out. It looks great!


By the end of the weekend, there will be 2 more coats of marine paint and all the trim will be painted black. Got the rims back from a friend who gave them an acid bath. They did not get too clean so I am not sure yet whether I am going to get them sandblasted as well or just paint them as is. Kind of eager to see what she is going to look like on her wheels!

Things left to do after this weekend, inside window trim, galley cabinets and sleeping cabin cabinets, paint and install batter tray and box, paint and install the finders again, if I decide to get the rims sandblasted, paint and install the wheels, install stereo and speakers, get curtains made(Mom:-)) and last but not least the mural on the back. That is about it! Wow!!

.

Thursday, November 11, 2010

5 day weekend!

Well, between last weekend and today, there is now 3 coats of primer on. Funny thing though, last weekend after I had the second coat of primer on, you could really see all the holes I missed filling. I filled all the holes and measured and cut all the trim for the interior and exterior of the door.

I have sent the wheel rims to a friend who is giving them an acid bath to clean them up. Whenever he gets them done, I am going to get them painted, tires installed and put them on. Getting eager to see how it is going to look on it's wheels.

I have a super long weekend and dad is coming over tomorrow to get some of the stuff done that I still need his help with! Hopefully by the end of Monday, there should only be a few things like the galley cabinets and the sleeping area cabinets to get done.

I am really starting to think of what I want for my mural on the hatch and am getting close! A friend at work has a wonderful eye and found this goat all by himself in this field in NB. She took a pic of him and then sketched him. I absolutely love him. She then came up with the suggestion of "Just Kidding Around" . I put that out there and friends suggested I drop the "Just". Great suggestion! Below is a mock-up of what I am thinking of.


Tuesday, October 26, 2010

The Trim!

All the exterior trim is on except for 1 small piece across the bottom of the hatch and the bottom of the camper. There is lots of filling and sanding required. All the pieces were installed with epoxy underneath to act as a glue and sealant. That is what you see as the dark areas. It should not leak and the trim should never come off! To get a closer look at the trim, click on the picture and then click again and you will be able to see all the layers of wood that make up the side wall trim. Once it is all filled and sanded, it will look like a solid piece! Dad came up with the idea to taper it from back to front! Again, another great idea!


Sunday, October 24, 2010

Pics from the last 2 days!

Here are the pics from the last 2 days. Got the cabin door hinge on and hung today. It has been a fairly decent weekend so far!

Shore power hookup,


Epoxy and cloth(fiberglass) where the fender meets the camper. The fender is open on the camper side and all the road moisture and dirt will be splashed against the camper. Thought that some extra protection should be given to this area. What a nasty job! Got the wrong type of cloth but I had it so I had to deal with it!


Galley hinge from the top with rubber inner tube underneath to prevent water from leaking through to the galley. The black line on the second pic is the rubber inner tube! Looks really goo and solid!


The cabin door is installed, the first pic is getting the spacing right and then the different profiles of the camper with the door opened and shut.


View of the door from the inside of the cabin.


Tomorrow, hopefully Dad and I will have most of the trim on by the end of the day????

Saturday, October 23, 2010

Another 3 day Weekend!

Well, it's another 3 day weekend and plan on working on the camper the bulk of this weekend!

Dad came today to check some measurements and hooked up the shore power inlet to the electrical panel. Everything works great as far as the AC circuits go!

I got the window installed in the door, the fiber glass cloth and epoxy where the fenders meet the camper and the galley hurricane hinge properly installed with the rubber underneath.

Hope to get the main door installed tomorrow and Dad my be coming over tomorrow and Monday for sure to get all the trim installed. At this rate, I could very well be painting it by next weekend!! Even if I do not get to paint it next weekend, I expect to have it all painted by the 15th of November.

Once she is painted and the bulk of the exterior work will be completed. I will be concentrating the rest of the winter on building the cabinets for the sleeping cabin and Galley. Still have some big thinking to do about that though. Also am still debating whether to put in a DC plug in the cabin and galley. Probably will do it, so that if I do go where this is no power, will still be able to plug my small inverter in if I need something that runs on AC power, ie, phone charger or run my computer.

Friday, October 15, 2010

What a great Day!!

Booked Dad for today to help with the hatch! What a great day. Using the word help is a bit much since he did all the work! lol I am really happy the way it turned out. Also got the window permanently in and all the AC plugs wired together and back to the electric panel. Big brother Bob stopped in for inspection. I think the work so far passed his inspection?

Strapping, glueing, and screwing the other half of the roof so the Hatch can be cut out. Dad had to do a fair amount of prep work because the left side wall was a little shorter than the right side wall.


First cut for making the hatch.


The hatch is cut and the hinge is on temporarly so we can see how it is going to work? Likin it!


View from the front to the back, the hatch is going to be the perfect height!


All the big build stuff is completed! Now it is down to properly installing the hatch hinge, installing the door and window in the door, building the cabinets, running the DC circuits, installing the stereo and speakers, installing the tail lights in the hatch, all the trim, inside and out, epoxy everything, then finally, painting! Thats not too much. hahahaha

THANKS DAD!!

Monday, October 11, 2010

First part of the roof is on.

Got the fourth coat of paint on the inside of door. Have to make sure it is the same as the rest of the interior. It's lookin good. Dad came over and cut the hole for the shore power inlet, tight fit but it should be perfect! Booked Dad for Friday to help finish covering the area where the hatch is go and get it cut out. Happy, Happy, Joy, Joy.


Got the front part of the roof on, screwed the edges and used the straps and boards to secure the center of the roof to the stays which are across the roof. There is a little overlap on the front and one side which will be sanded down. Hopefully next weekend, we will get the Hatch, Door and window installed? Time will tell??


Beginning to see the end. There is wiring, final cabinetry, installing the stereo, speakers, tail lights and a few other things after the hatch, the door and the windows are done. Good chance everything will be done by Christmas. :) I have a feeling though that I will never truely be done!

Wednesday, September 29, 2010

Turning into a Caviar Camper......

I originally said I was building this camper with Caviar tastes on a Tuna Budget!! My original idea for the camper was bare bones minimum. Then as my project progressed, I pondered power? Then I pondered AC or DC or both?? Got a deal on Ebay for an electric distribution panel with a charging unit built in! Went for both AC/DC power! Going to be nice if I go camping at a National Wilderness Park, will still be able to have my coffee and limited lights or if I go to a private campground(with AC hookups) will have full power capability. Maybe down the road will look at going the next level with a solar panel?

Then the question came, easy hookup with a cord that comes outside to plug into an outlet at the campground or get a real hookup attached to the outside of the camper and step it up a level. Stepped it up a level!!

Started thinking about sound, lookout Ebay!! Found an RV- AM/FM CD unit. Put a bid on it, increased the max bid once, twice and resisted a third time. WOW, won the unit at a reasonable delivered price! I am a little over what I wanted to spend on the whole project but, have added a few features that will not only add value to this camper but enjoyment as well!!

Took last weekend off from doing anything to the camper but found it was driving me crazy! I have to get out to the garage and get back at it. I hope to have the power all wired this weekend and maybe start on securing the roof. Have everything I need, just have to get at it. Was kinda waiting for Dad to get home to help? But then thought, what is the worst that could happen? I screw it up and have to start over. Oh well, I know I can do it!!

Sunday, September 19, 2010

Galley is in!

For the last 2 weeks I have been busy painting the interior and the galley components! The galley is now in and not lookin too bad if I say so myself. Also got the electrical panel in and the electric outlets put in place. They are not wired yet though! Still waiting for the Shore power inlet I ordered through ebay to get here. (little tip: if you find the pic's too small, click on them and you will get a much larger pic and can see details much better)


My neighbor has built me a nice battery tray for the front of the trailer to sit on the tongue, he is going to weld the corners and drill some holes in it for me! He has also given me a piano hinge for the door and made some suggestions of how to weather proof it. He wants to build one himself but his wife is not too keen on the idea! That's OK, he can live vicariously through me on this project. He has really given me some great suggestions!

I also got the exterior porch light installed and


the 2 interior(DC) lights installed as well as 2 AC outlets in the sleeping area. The wires you see hanging on the left side of the top picture are the wires from the porch light. I am getting some 16 guage wire to connect them back to the electical panel. I have lots of room left in the electrical panel but I am sure as time goes on, I will be adding to the camper. The window on the floor is the one that will be going in the door.


I also got the door prepared with the window opening cut out and the first coat of paint in the interior side of it. Finished prepping the other side of the camper where the other window is going to be installed and place the window in that spot. My helper was inspecting my work!


I will be at a standstill for the next few weeks. Going house sitting for Mom and Dad. Besides that, I also am going to need some help from Dad so I have to wait for him to get back. The next steps will be to do the wiring and then work on getting the door finished, install the roof, get the galley hatch cut out, install the hatch and handle hardware, finish installing the window and door, epoxy the exterior, trim it all out(interior/exterior), paint the exterior and last but I am sure not least, build some cupboards in the galley. There are a few steps in there that have been missed I am sure!

Anyway, stay tuned for more to come.....:)