
Tuesday, March 27, 2012
Sunday, May 1, 2011
Now I have to learn to back her up! lol
Short of a little touchup paint, everything is ready to roll. All the cabinetry is done, the lights are installed and the curtains are up. Now all I have to do is learn to back her up.... Dad and Bob have both told me how easy she should be to backup but wow, what a time I had last night backing her up in the driveway. I think the key is small movements with the steering wheel?? I will get it eventually.......LOL
My Galley has lots of storage. Dad built a great overhead unit where the speakers are installed along with the LED Dome light not to mention the wonder cupboards. This type of light will really help reduce the power requirements.


Besides the doom light, there are 4 LED lights under the cabinet, 4 AC plugs, 2 DC plugs and 2 USB plugs.

Mom did a great job on the curtains for the sleeping cabin! They are made from the old curtains I had in the house in Mt. Uniacke. Mattress is in but I do not have the bed made yet... Mom also resized some old sheets for the mattress.

The Stereo is installed in the sleeping cabin cupboards along with speakers. Again, 4 AC plugs, 2 dc plugs, 2 USB plugs, 2 battery operated lights and 4 LED lights under the cupboards. Dad also made doors in the sleeping cabin cupboards as sliders so there is no chance of hitting your head on open doors. This is at the foot of the bed.


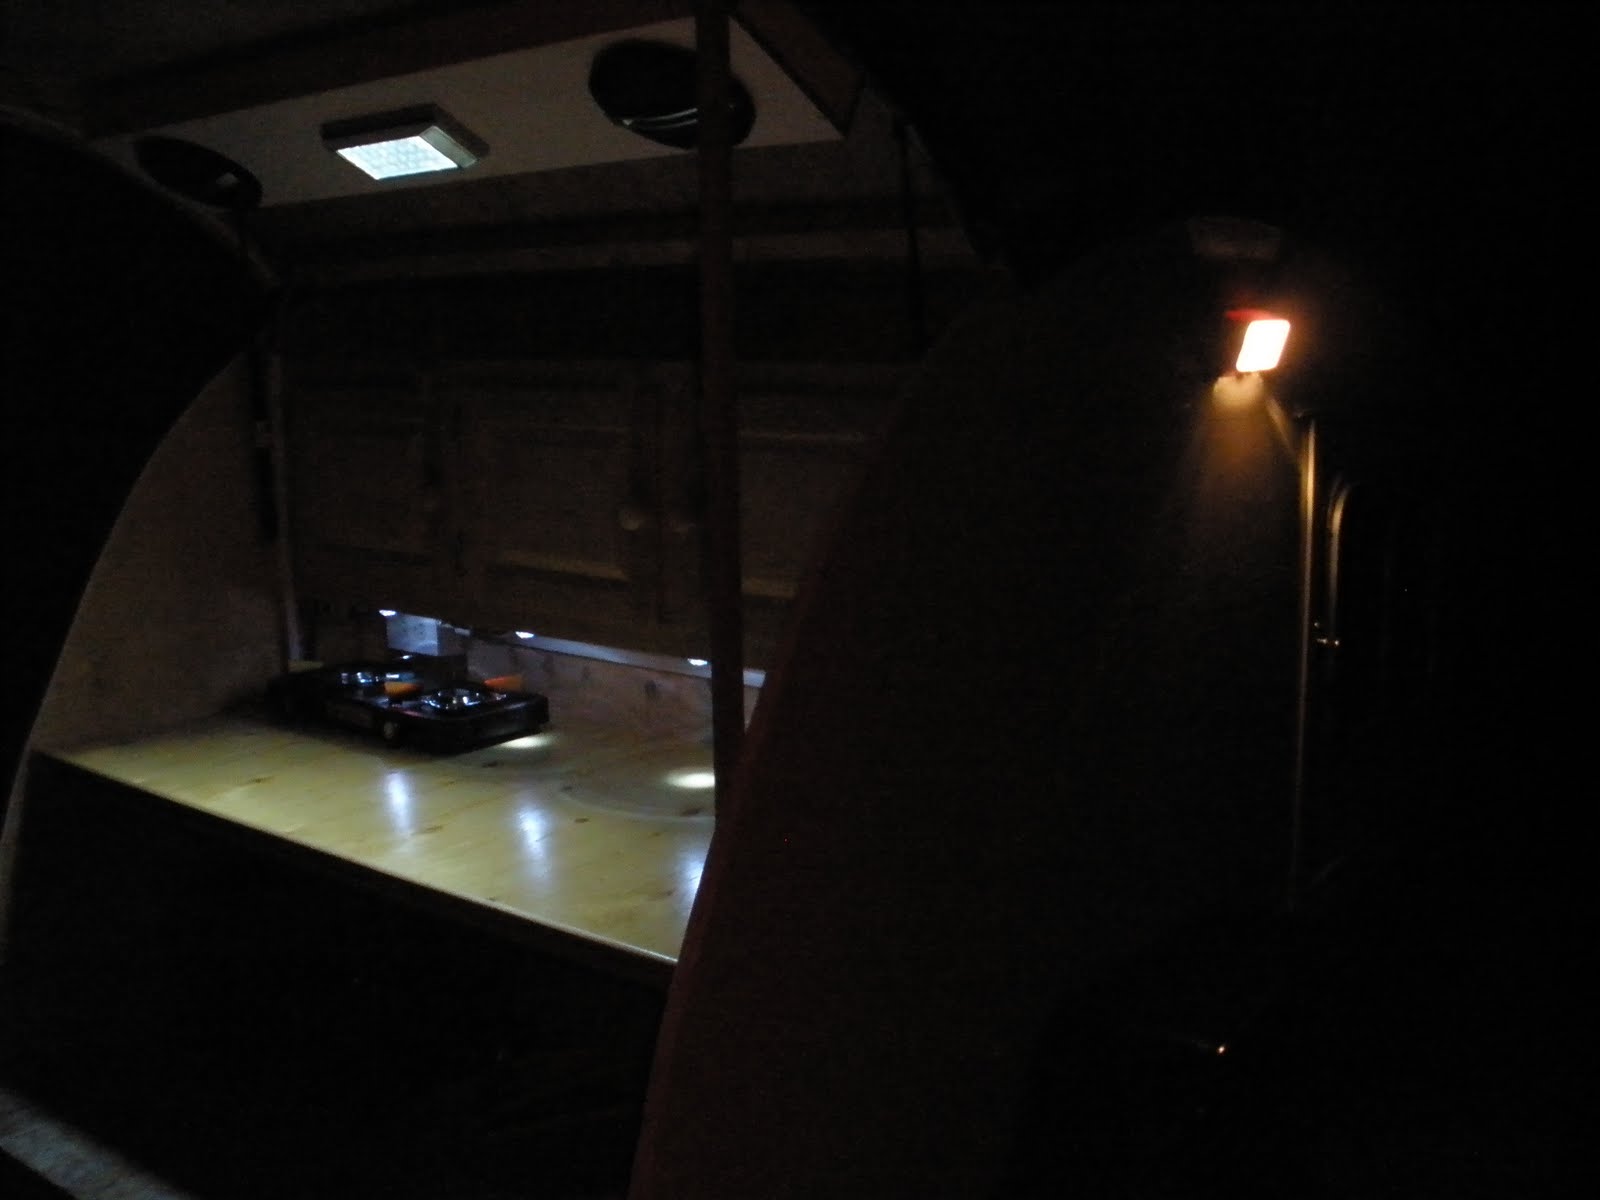
These next set of pics were made after dark. We were wondering how much light we would get out of the LED lights. They work great!

The porch light, the galley Dome light and the under counter LED lights work great as well and give really nice light.


The two munchins trying out the camper.

My Galley has lots of storage. Dad built a great overhead unit where the speakers are installed along with the LED Dome light not to mention the wonder cupboards. This type of light will really help reduce the power requirements.


Besides the doom light, there are 4 LED lights under the cabinet, 4 AC plugs, 2 DC plugs and 2 USB plugs.

Mom did a great job on the curtains for the sleeping cabin! They are made from the old curtains I had in the house in Mt. Uniacke. Mattress is in but I do not have the bed made yet... Mom also resized some old sheets for the mattress.

The Stereo is installed in the sleeping cabin cupboards along with speakers. Again, 4 AC plugs, 2 dc plugs, 2 USB plugs, 2 battery operated lights and 4 LED lights under the cupboards. Dad also made doors in the sleeping cabin cupboards as sliders so there is no chance of hitting your head on open doors. This is at the foot of the bed.


These next set of pics were made after dark. We were wondering how much light we would get out of the LED lights. They work great!

The porch light, the galley Dome light and the under counter LED lights work great as well and give really nice light.


The two munchins trying out the camper.

NEXT PICS WILL BE TAKEN AT KOA - HALIFAX WEST - STAY TUNED!!
Sunday, March 20, 2011
yehhhhhh, she is out of Garage!!

It has been a long winter! Have not been able to do anything since the end of November because it was way too cold. This weekend change things though!
The door hardware is installed and she can now be locked up so out of the garage she comes. Not that I want it to rain but I want to check for leaking before the final touches go on. Hopefully next weekend, I will get it towed to Mom and Dads for the final work. Dad has built awesome cabinets for the sleeping and galley area's. He is also going to make a bumper for her. Mom is going to make some curtains for her. :-)


Although I did not get any building done this winter, I did make some purchases for her. I got the perfect stove off ebay, some different lights and power adapters and a 12V cooler off KIJIJI. Last week I bought a quick set gazebo. Perfect for the back or the side.


Monday, November 15, 2010
Last day of the 5 day weekend!
All the painting is done! 3 coats of primer, 2 coats of marine paint on the whole camper and 2 coats of black paint on the trim. Half the weight of the camper is going to be with the paint!! lol
Really happy how it looks. There are a few places where the black bleed, but for the most part the lines are really crisp. The interior trim is finished on the windows as well and started installing the door hardware. Got an interesting surprise with the power panel. I thought that the 12v lights would only work off the battery but because I needed light in the sleeping cabin, where I have a regular light, hooked up the shore power. I thought for shits and giggles I would try the galley dome light and it came on?! Then I tried the porch light and the same thing? Went to the front of the camper just to make sure I did not hook up the battery, no, not hooked up! Love my electric panel!


Took the rims and fenders to Bob's(brother) for sandblasting. A friend soaked the rims for 4 days in a special bath, but there was still a lot of crude on them. Thanks for trying though Jamie!
The to do list is getting really small!!
Saturday, November 13, 2010
Day 3 of a 5 Day weekend
I am right on schedule for the plan of the weekend. Actually, thanks to Dad, I am even a little further then where I thought I would be by this time. Got the last of the trim on the bottom of the camper installed. There are now 3 coats of primer and the first coat of marine paint on the camper. The color is called Carver White, a really light grey! Really shinny, I really like it!!!!


The door is all trimed out as well. It should not leak? I epoxied the interior of the door and the jamb. It will be tested in the spring!


Dad installed the tail lights, the license plate light, hooked up the battery back to the electric panel, wired the porch light and the galley light. He also installed the gas shocks on the galley hatch. Unfortunately they are not strong enough to hold the lid up but they assist in the lifting and stop the lid from crashing down. It only needs a little support to keep it up. I will figure something out. I turned the lights out in the garage to see what kind of light I would get from the galley light and the porch light. Unfortunately the pics do not give it justice!


Dad ran the battery cable through a piece of plastic tubbing from the front, underneath the trailer and then brought it up through the galley to run it to the electric panel. You don't see it right now but my neighbor manufactured a battery tray and it will be sitting on the tongue of the trailer where you see the wires come out. It looks great!

By the end of the weekend, there will be 2 more coats of marine paint and all the trim will be painted black. Got the rims back from a friend who gave them an acid bath. They did not get too clean so I am not sure yet whether I am going to get them sandblasted as well or just paint them as is. Kind of eager to see what she is going to look like on her wheels!
Things left to do after this weekend, inside window trim, galley cabinets and sleeping cabin cabinets, paint and install batter tray and box, paint and install the finders again, if I decide to get the rims sandblasted, paint and install the wheels, install stereo and speakers, get curtains made(Mom:-)) and last but not least the mural on the back. That is about it! Wow!!
.
Thursday, November 11, 2010
5 day weekend!
Well, between last weekend and today, there is now 3 coats of primer on. Funny thing though, last weekend after I had the second coat of primer on, you could really see all the holes I missed filling. I filled all the holes and measured and cut all the trim for the interior and exterior of the door.
I have sent the wheel rims to a friend who is giving them an acid bath to clean them up. Whenever he gets them done, I am going to get them painted, tires installed and put them on. Getting eager to see how it is going to look on it's wheels.
I have a super long weekend and dad is coming over tomorrow to get some of the stuff done that I still need his help with! Hopefully by the end of Monday, there should only be a few things like the galley cabinets and the sleeping area cabinets to get done.
I am really starting to think of what I want for my mural on the hatch and am getting close! A friend at work has a wonderful eye and found this goat all by himself in this field in NB. She took a pic of him and then sketched him. I absolutely love him. She then came up with the suggestion of "Just Kidding Around" . I put that out there and friends suggested I drop the "Just". Great suggestion! Below is a mock-up of what I am thinking of.

Tuesday, October 26, 2010
The Trim!
All the exterior trim is on except for 1 small piece across the bottom of the hatch and the bottom of the camper. There is lots of filling and sanding required. All the pieces were installed with epoxy underneath to act as a glue and sealant. That is what you see as the dark areas. It should not leak and the trim should never come off! To get a closer look at the trim, click on the picture and then click again and you will be able to see all the layers of wood that make up the side wall trim. Once it is all filled and sanded, it will look like a solid piece! Dad came up with the idea to taper it from back to front! Again, another great idea!


Subscribe to:
Posts (Atom)